RNG RollAttacks Attack Tier Guide
Community-observed S through D bands for RollAttacks ability archetypes.
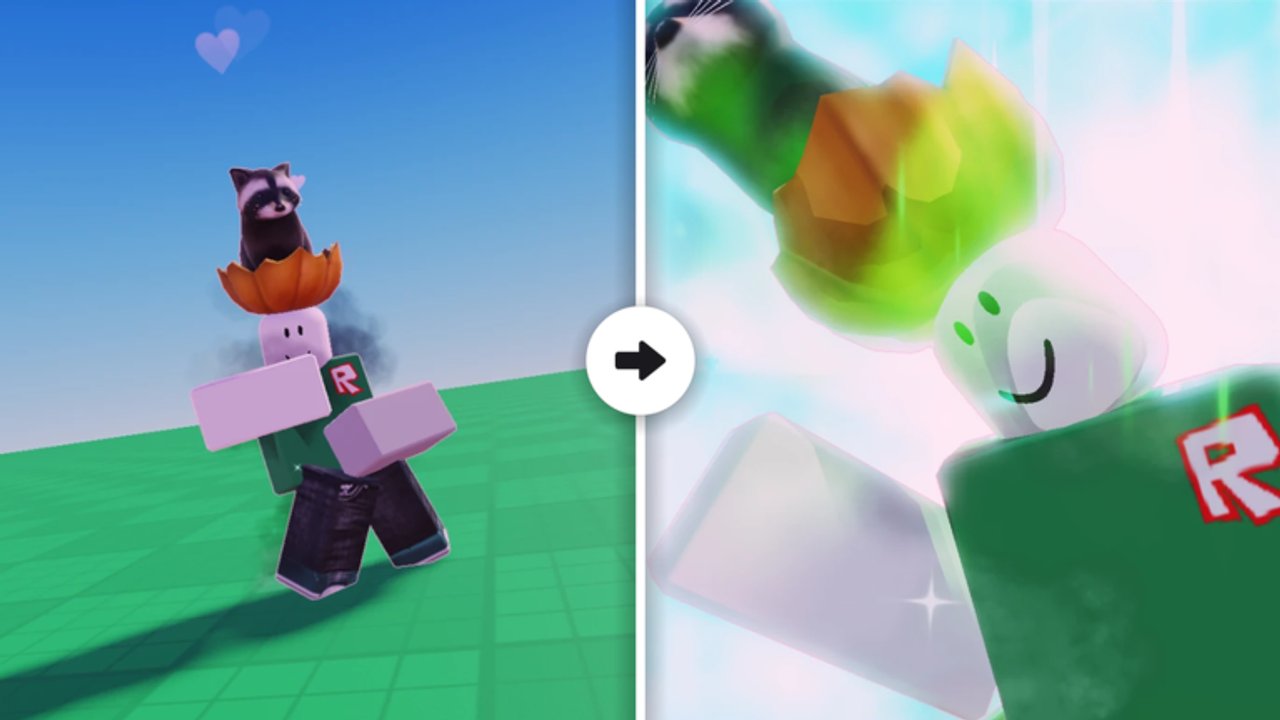
This Attack Tier Guide ranks RNG RollAttacks ability archetypes into S, A, B, C, and D bands. The game markets more than forty unique attacks spanning simple punches to time-stopping rares. Exact in-game names, cooldowns, and drop rates change with patches, so every placement below is approximate archetype guidance based on how similar kits feel in public lobbies — not an official table and not a copy of odds from RNG Fights or other battlegrounds.
Read this beside the Tier List Hub, PvP Meta, and the Attack Index. Practice fundamentals in Combat Basics and Getting Started before you burn luck chasing S-band spectacle.
Ranking criteria
- S — Lobby-defining. High burst, rare control, or server event power. Hard to answer if the user lands the window.
- A — Strong in most 1v1 and small-group fights. Rewards skill expression without needing a once-a-session roll.
- B — Solid mid-pool tools. Win with spacing and trait support; lose when out-rolled by A/S.
- C — Situational or learning kits. Fine for quests and warm-ups; swap when you can.
- D — Entry punches and weak fillers. Teach timing, then re-roll.
S tier — event and time-bending archetypes
Time god / time-stop style kits sit at the top because freezing or heavily slowing the fight creates free confirms for you and chaos for everyone else. On a full twenty-three player server, a clean time window can decide a cluster fight before counter-play starts. Treat these as rare flex and win-condition rolls, not as your everyday farming kit.
Divinity-tier server event archetypes belong here for impact, not for practice reps. When a roll paints the whole lobby with cinematic VFX, expect stacked damage, unique rules, or forced attention. They are terrible teachers for beginners and excellent flex moments. Pair them with careful camera awareness — the experience warns about flashing images for a reason.
A tier — instinct and orbital pressure
Ultra instinct style kits usually land in A because they reward movement, i-frames, or rapid counters more than raw numbers. Players who already understand dash timing from Combat Basics convert these into consistent wins against slower heavy hitters.
Orbital strike patterns punish groups that clump mid-map. High vertical or delayed AoE forces enemies to scatter, which softens shockwave users and helps you isolate targets. In PvP, orbital tools shine when you bait a stack after a quest turn-in or badge celebration.
B tier — shockwave and upgraded slap lines
Shockwave-like AoE is the workhorse mid band. It clears space, chips multiple fighters, and pairs well with luck-farming sessions where you cannot wait for S rolls. Expect diminishing returns against spread-out, high-mobility opponents.
Slap-style basics with meaningful knockback or multi-hit follow-ups sit in B when they outrange plain punches. They are excellent for learning confirm chains and for grinding early kill badges without depending on a jackpot roll. See PvP Meta for matchup notes against control kits.
C tier — plain slap and situational fillers
Generic slap or short-range multi-hit tools without strong knockback or unique utility land in C. They clear tutorial goals and early quests, then fall off when lobbies fill with A-band movement kits. Keep them equipped only while you finish a specific quest step or while waiting for a better roll.
Situational fillers — niche heals, weak projectiles, or gimmick tools that demand perfect setups — also live here. They can clutch a badge attempt, then return to the bench.
D tier — common punches
Common punch archetypes are the floor of the pool. Use them to learn M1 rhythm, hit confirm, and when to disengage. Do not invest traits meant for endgame into a pure D kit unless you are intentionally challenge-running. Re-roll as soon as luck boosts or Codes give you a path into C or higher.
How to climb bands without wasting luck
- Finish onboarding on Getting Started so you know where luck, traits, and quests live.
- Stabilize on B-band shockwave or upgraded slap tools for kill and quest progress.
- Spend boosted luck toward A-band instinct or orbital kits once badges past the early kill milestones feel slow.
- Treat S-band time-stop and divinity-style rolls as opportunistic — play them hard when they appear, but do not stall your badge path waiting exclusively for them.
- After each patch on Updates, re-test whether orbital still beats clumped shockwave users or whether new counters demote an archetype.
Role mapping
| Archetype family | Typical band | Primary role |
|---|---|---|
| Common punch | D | Learning / filler |
| Basic slap | C–B | Pressure |
| Shockwave AoE | B | Control / clear |
| Orbital strike | A | Burst / anti-clump |
| Ultra instinct style | A | Skilled pressure |
| Time stop / time god | S | Control / win condition |
| Divinity-tier event | S | Event / flex |
For a role-first view instead of a power band, open the Attack Index. For trait support that multiplies these kits, use Traits Tier and Traits. Boss-oriented players hunting Storm Breaker should also read THE WITHER STORM so S-band spectacle is not your only plan against the event fight.
Honest caveats
Community clips exaggerate S-band success because nobody uploads a boring punch duel. Sample size in your own servers matters more than a single viral clip. Trait synergy can lift a B kit into A performance for a skilled player, and a bad trait can waste an S roll. Always verify live tooltips after updates, and never paste another wiki’s fraction odds into RollAttacks as if they were official.
Frequently Asked Questions
Quick answers to the most common questions.
Is S tier always worth waiting for?
No. S-band time-stop and divinity-style rolls are rare flex and win tools. Farm kills and quests on B/A kits while you wait.
Why are punches D tier?
Common punches teach timing but lose to range, AoE, and movement kits once lobbies fill. Re-roll when you can.
Are these official rarities?
No. Bands are community-observed archetype guidance for RollAttacks’ 40+ pool, not developer drop tables.
Where should I go after this page?
Open PvP Meta for matchups, Traits Tier for multipliers, and the Attack Index for role labels.